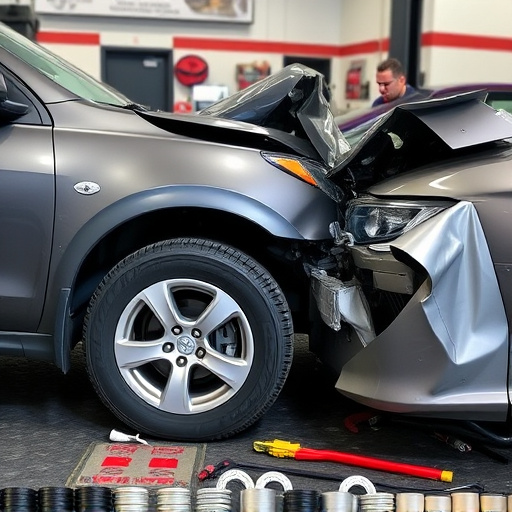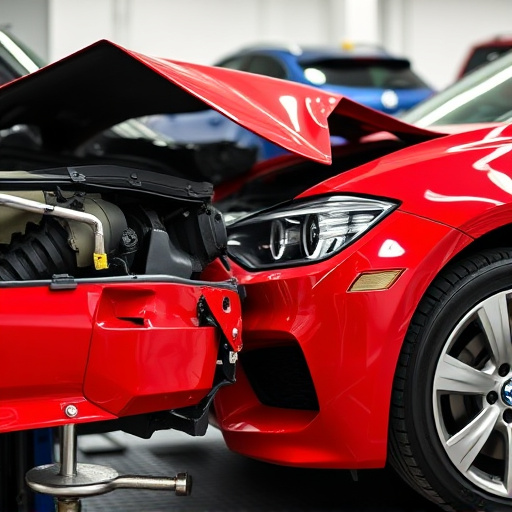
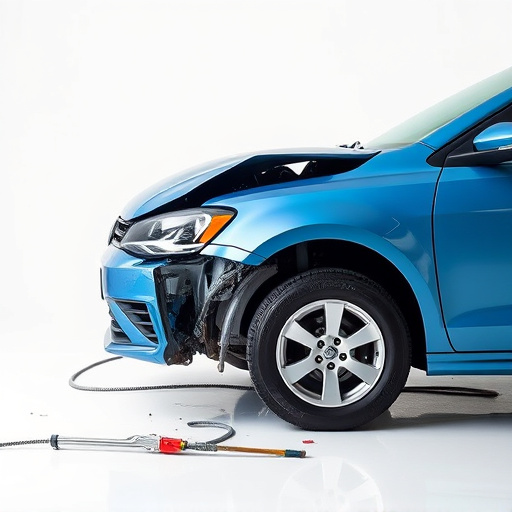
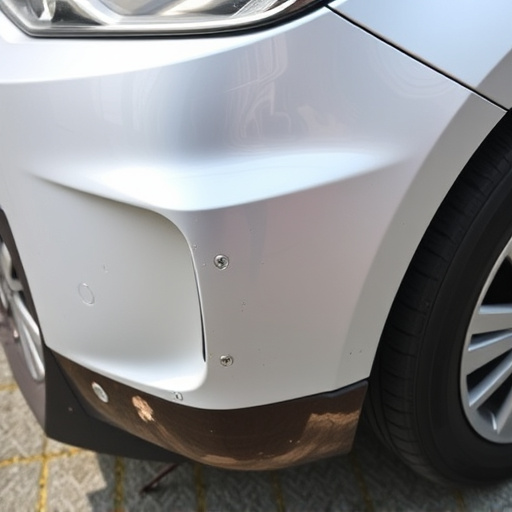


TIG welding auto body techniques are essential for precise, strong welds in automotive repair and restoration. This method uses a non-consumable tungsten electrode to melt metal, creating clean welds with minimal distortion. Top-tier equipment, safety gear, and finishing tools ensure high-quality repairs, especially during hail damage restoration. A step-by-step process guarantees optimal results, from surface preparation to inspection, elevating automotive collision repair services.
TIG welding auto body is a specialized skill crucial for precision repairs and restoration. This article delves into the intricacies of this process, equipping you with invaluable knowledge for effective implementation. We explore understanding TIG welding fundamentals for auto body repair, outline essential tools and equipment, and provide a comprehensive step-by-step guide to ensure successful fusion of panels. By the end, you’ll be equipped to tackle auto body repairs with confidence and precision.
- Understanding TIG Welding for Auto Body Repair
- Essential Tools and Equipment for TIG Welding
- Step-by-Step Guide to TIG Welding Auto Body Panels
Understanding TIG Welding for Auto Body Repair

TIG welding auto body is a specialized technique that has become an indispensable tool in the automotive repair and restoration industry. This process, short for Gas Metal Arc Welding (GMAW), uses a non-consumable tungsten electrode to produce strong and precise welds. It’s particularly valued for its versatility and ability to handle various materials, making it ideal for auto body work where different types of metal are commonly found.
Understanding TIG welding involves grasping the science behind it: an electric arc is generated between the electrode and the workpiece metal, heating them to their melting point and fusing them together. This method allows for precise control over heat input, resulting in cleaner welds with minimal distortion. For auto body repair, this translates into more effective repairs, from fixing dents and panels to replacing entire sections, while ensuring structural integrity. Moreover, TIG welding’s precision makes it suitable for intricate details often found in modern vehicle designs, enhancing the overall quality of auto glass repair and fleet maintenance services.
Essential Tools and Equipment for TIG Welding

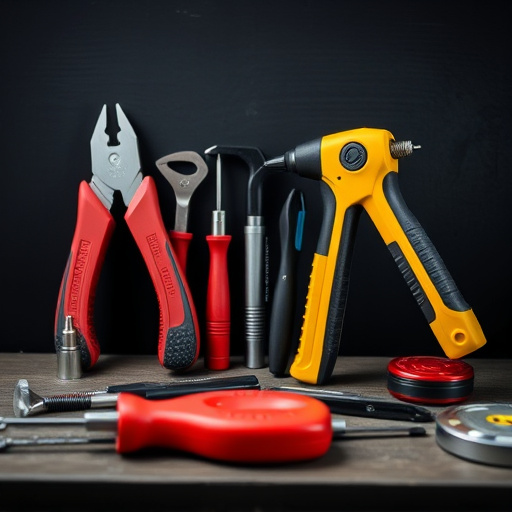
To master TIG welding auto body repairs, a welder needs an arsenal of specialized tools and equipment. At the core, you’ll require a high-quality TIG welding machine capable of precise control over current and gas flow. This enables the creation of strong, clean welds essential for structural integrity in auto collision centers. Alongside this, invest in top-tier tungsten electrodes in various diameters; these are the tips through which the welding arc is formed.
Safety gear is non-negotiable when handling TIG welding. This includes a well-fitting respirator to protect against harmful fumes, especially when working on vehicles damaged by hail or requiring tire services. Leathery gloves and protective eye wear also safeguard against sparks and spatter. For efficient preparation and finishing, consider a set of grinding tools, wire brushes, and a flux container. Proper equipment ensures not only high-quality repairs but also enhances productivity in hail damage repair scenarios at auto collision centers.
Step-by-Step Guide to TIG Welding Auto Body Panels

TIG welding auto body panels is a precise art that requires skill and attention to detail. Here’s a step-by-step guide for achieving clean, strong welds in an auto repair shop or automotive body work environment:
1. Prepare the Surface: Ensure the metal surfaces are clean, free of oil, grease, and dirt. Sand any imperfections for a smooth finish. This foundational step guarantees optimal adhesion and strength for your welds.
2. Set Up Your Equipment: Position your TIG welder correctly, ensuring easy access to the workpiece. Attach the appropriate filler rod, selecting one compatible with your metal type. Put on your protective gear, including gloves, safety glasses, and a respirator.
3. Start Welding: Create a small bead of weld along the joint line, applying consistent pressure. Move the welder in smooth, linear motions, filling the joint evenly. Maintain a steady arc length for optimal results.
4. Clean and Repeat: After completing one pass, inspect your work. Clean the welded area to remove any residual debris. Adjust your technique if needed, then repeat the process for additional passes until achieving the desired strength and appearance.
5. Cooling and Inspection: Allow the weldment to cool completely before removing it from the workbench. Inspect the weld closely, checking for consistency, cleanliness, and structural integrity. Address any imperfections promptly to maintain the highest quality automotive collision repair.
TIG welding auto body is a precision technique that requires specialized tools and knowledge. By understanding the process, mastering the equipment, and following a structured guide, auto body repair professionals can achieve strong, aesthetically pleasing welds on various panels. This article has provided an overview of these essential aspects, empowering readers to confidently navigate the world of TIG welding in automotive repairs.